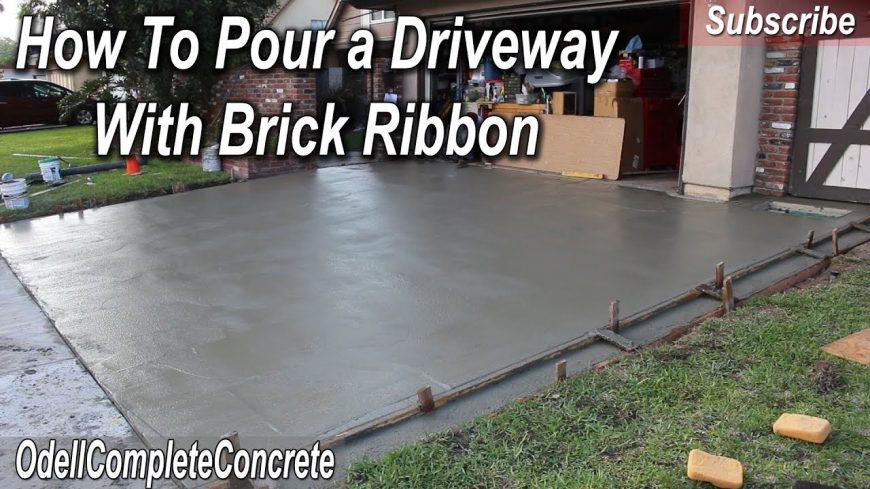
🎥 How to Pour a Concrete Driveway with Brick Ribbon Sides DIY

Pouring your own driveway isn’t something most of us think of as a DIY project, and for the majority, you probably want to leave a job this big to the professionals. However, if you happen to have a little experience in the area and a few friends to help, you can probably save a little money and ensure the job is done to your liking. However, as with most huge home improvement projects, there’s always more to the project than meets the eye, and this video is a great look at just what all goes into doing the job right.

The first step, at least in this project, is getting rid of the old driveway. There’s no easy way to do this part of the job, you just have to break it up into manageable chunks and haul them off. Once the old surface has been done away with, you have to prepare the ground underneath the driveway, and this is probably a step that most people either don’t bother with or don’t do correctly, and it’s one of the most important jobs, which is why they spend so much time on it in the video. If the ground beneath is properly prepared, there is a much higher chance of the driveway itself cracking over time.

From there, it’s time to add the reinforcement and begin the pouring. Careful preparation should make for an easy pour, but you still want to take your time and move deliberately through the driveway while you pour to ensure even coverage. When the pouring is done, there’s really not much else to do other than the smoothing, which can certainly be tedious, but if done correctly, will insure the driveway looks great for many years.
If you want to tackle a project like this, this video will go a long way toward teaching you the ins and outs of pouring your driveway before you jump in with both feet.

