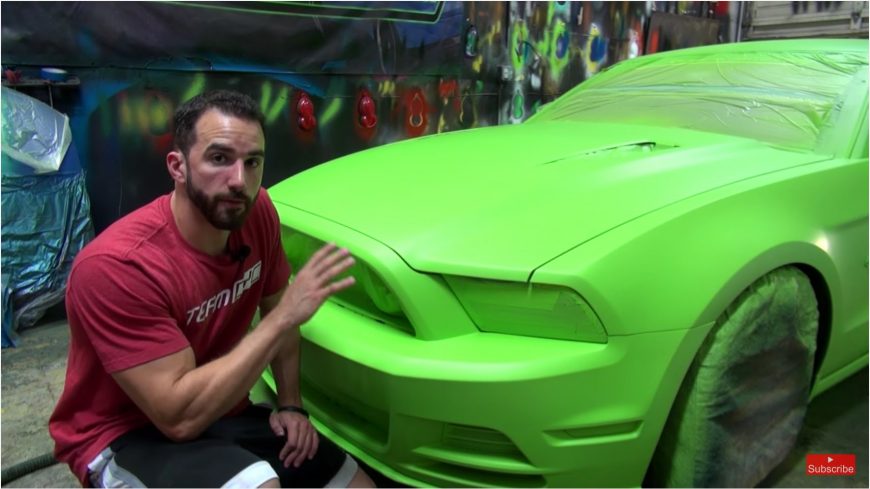
Every Single Step You Need to Know About Plasti-Dipping Your Ride

Back in its heyday, Plastidip was something that was used to coat the handles on your tools, making them a little bit more rigid so that they wouldn’t be so susceptible to knicks and scratches. However, as the days would go along, the substance would evolve to become a sort of color changing mechanism to replace paint in many ways as people would us different forms of PPlastidip to not only coat their wheels and trim pieces on their cars but also eventually it would get to the point where folks will be coating entire cars in the stuff!
Now, this is definitely a controversial topic as the coating definitely has a lot of different people who aren’t exactly behind what it’s able to accomplish, however, there are an equal amount of people if not more who are impressed by exactly what they have seen out of Plastidip and how it’s used to transform cars from one thing to another, coming through with completely extravagant color changes in some situations that really could turn heads. Many will argue that you don’t even know that it’s dipped a lot of the time because it can look exactly like paint if you’re careful with how you apply it.
If you follow along down with the video below, you’ll get each and every step that you need to make a Plastidip paint job complete, outlining all the important steps that stand between you and a perfect finish on your ride. On top of it all, this method may just come in at a fraction of the price that it would cost to get a professional paint job done. After following along with exactly how all this works, be sure to tell us a little bit about your experience with Plastidip and if you would ever use it to refinish your ride.

