DIY Tire Vulcanizing Repair – Rock Rods Tech

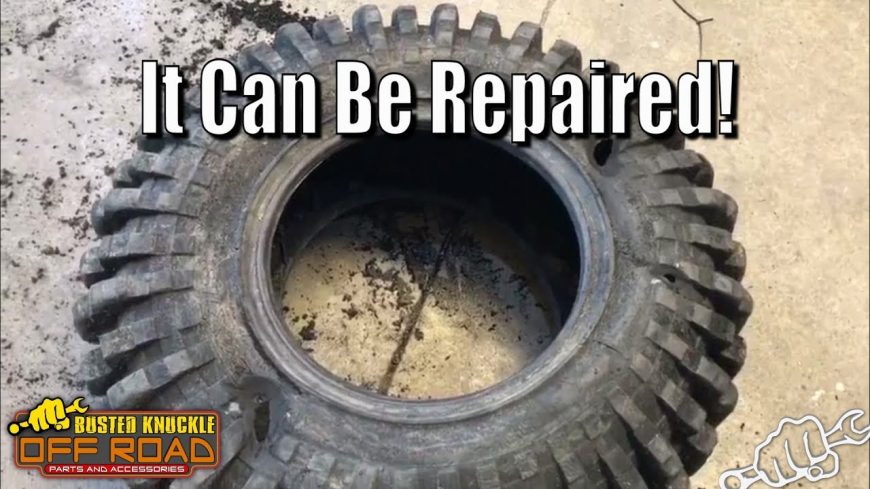
If you’re into offroading, you know how hard the terrain can be on tires and many times, you can’t get a shop to assume the liability that comes with repairing tires, especially if the damage is in the sidewall. However, if you like to hit the trails often, this could result in you buying new tires several times a year if there’s no way to make repairs to them, so our buddies over at Busted Knuckle Off Road have a solution that could really help you get a lot more life out of your tires beyond the first time you pinch the sidewall or jab it with a sharp rock.
This vulcanizing compound works a lot like JB Weld for rubber, so many of you are going to have a pretty good idea of what this stuff is just based on that comparison. It’s a two part compound with a primer to prepare the surface and aid in adhesion. The video we’ve included below is a very well done step-by-step walkthrough, detailing not only how to use the product, but how to prepare the tire to ensure it works.
I’m not going to break the process down as fully as the Busted Knuckle crew does, you can watch the video for the detailed process, I’m just going to recap it here for those who want to see just how simple it can be. The first step in the process is to scuff the rubber around the puncture and make a nice textured surface for the compound to adhere to. This can be done with a grinder as shown in the video, or you could do the same thing with a file and a little elbow grease if you don’t have a grinder handy.
The next step is to apply the primer to the tire and so it can setup for the compound to be applied. This helps promote adhesion between the tire itself and the compound, which is a simple 1:1 mix of the two ingredients. Once they’ve been mixed up and kneaded together fully, they can be applied to the prepared puncture, and that’s basically it. This simple process can save you from having to buy a new tire many times over, hopefully until you’ve reached the useful life of the tire itself.

